
How to Take Professional Skincare Photos at Home (No Studio Required)
Think you need a $5,000 studio to make your skincare products look like they belong in Sephora? Think again. With the right lighting, props, and composition tricks, you can take professional product photos at home that stop scrollers in their tracks — no fancy gear required.
Step 1: Use Natural Light (Skip Expensive Gear)
Set up near a window with indirect light for a soft, even glow.
Avoid harsh midday sun—early morning or late afternoon gives softer shadows.
Use white poster board or foam board to bounce light back onto your product and eliminate unwanted shadows.
Pro Tip: Position your product so the light comes from the side, not directly behind or in front, to highlight shape and texture.
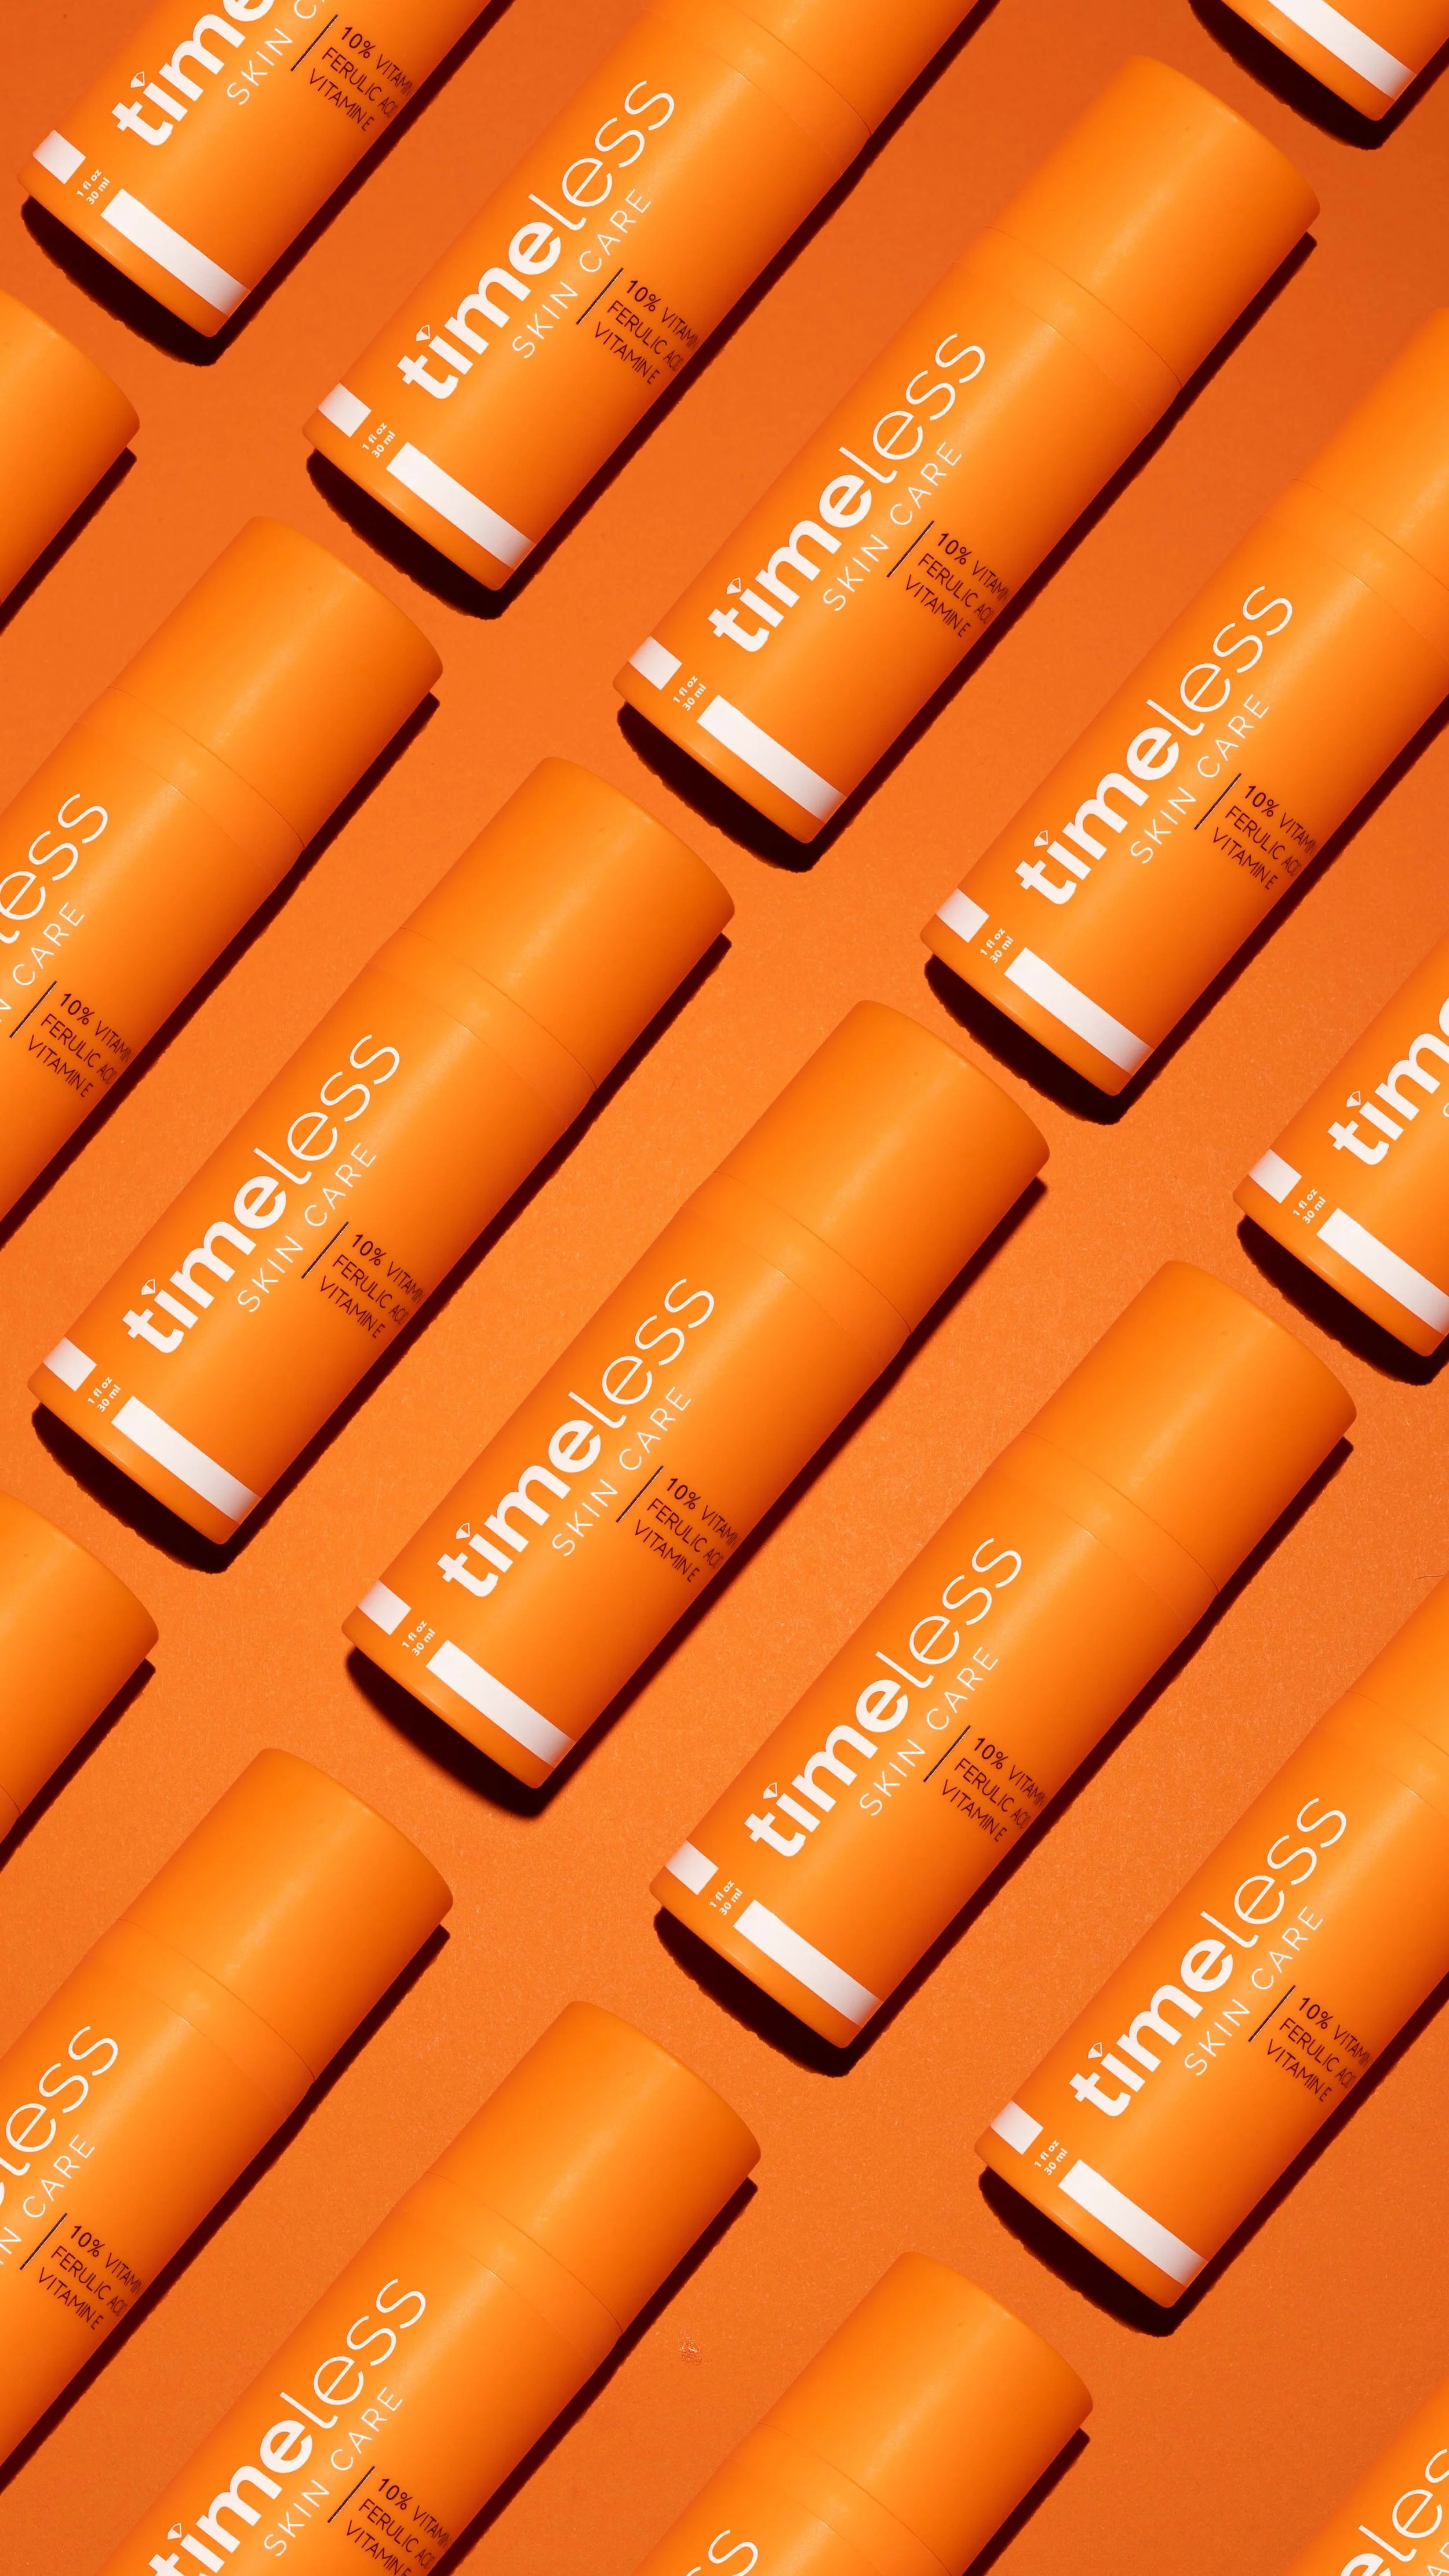
Step 2: Pick a Clean, Minimal Backdrop
DIY options: marble contact paper, white foam boards, or even a neutral bedsheet.
Keep distractions out of the frame—your product should be the star.
Use consistent tones to make your brand look cohesive.
Pro Tip: Try shooting on a tabletop pushed against a wall, placing the backdrop vertically behind your product for seamless lines.
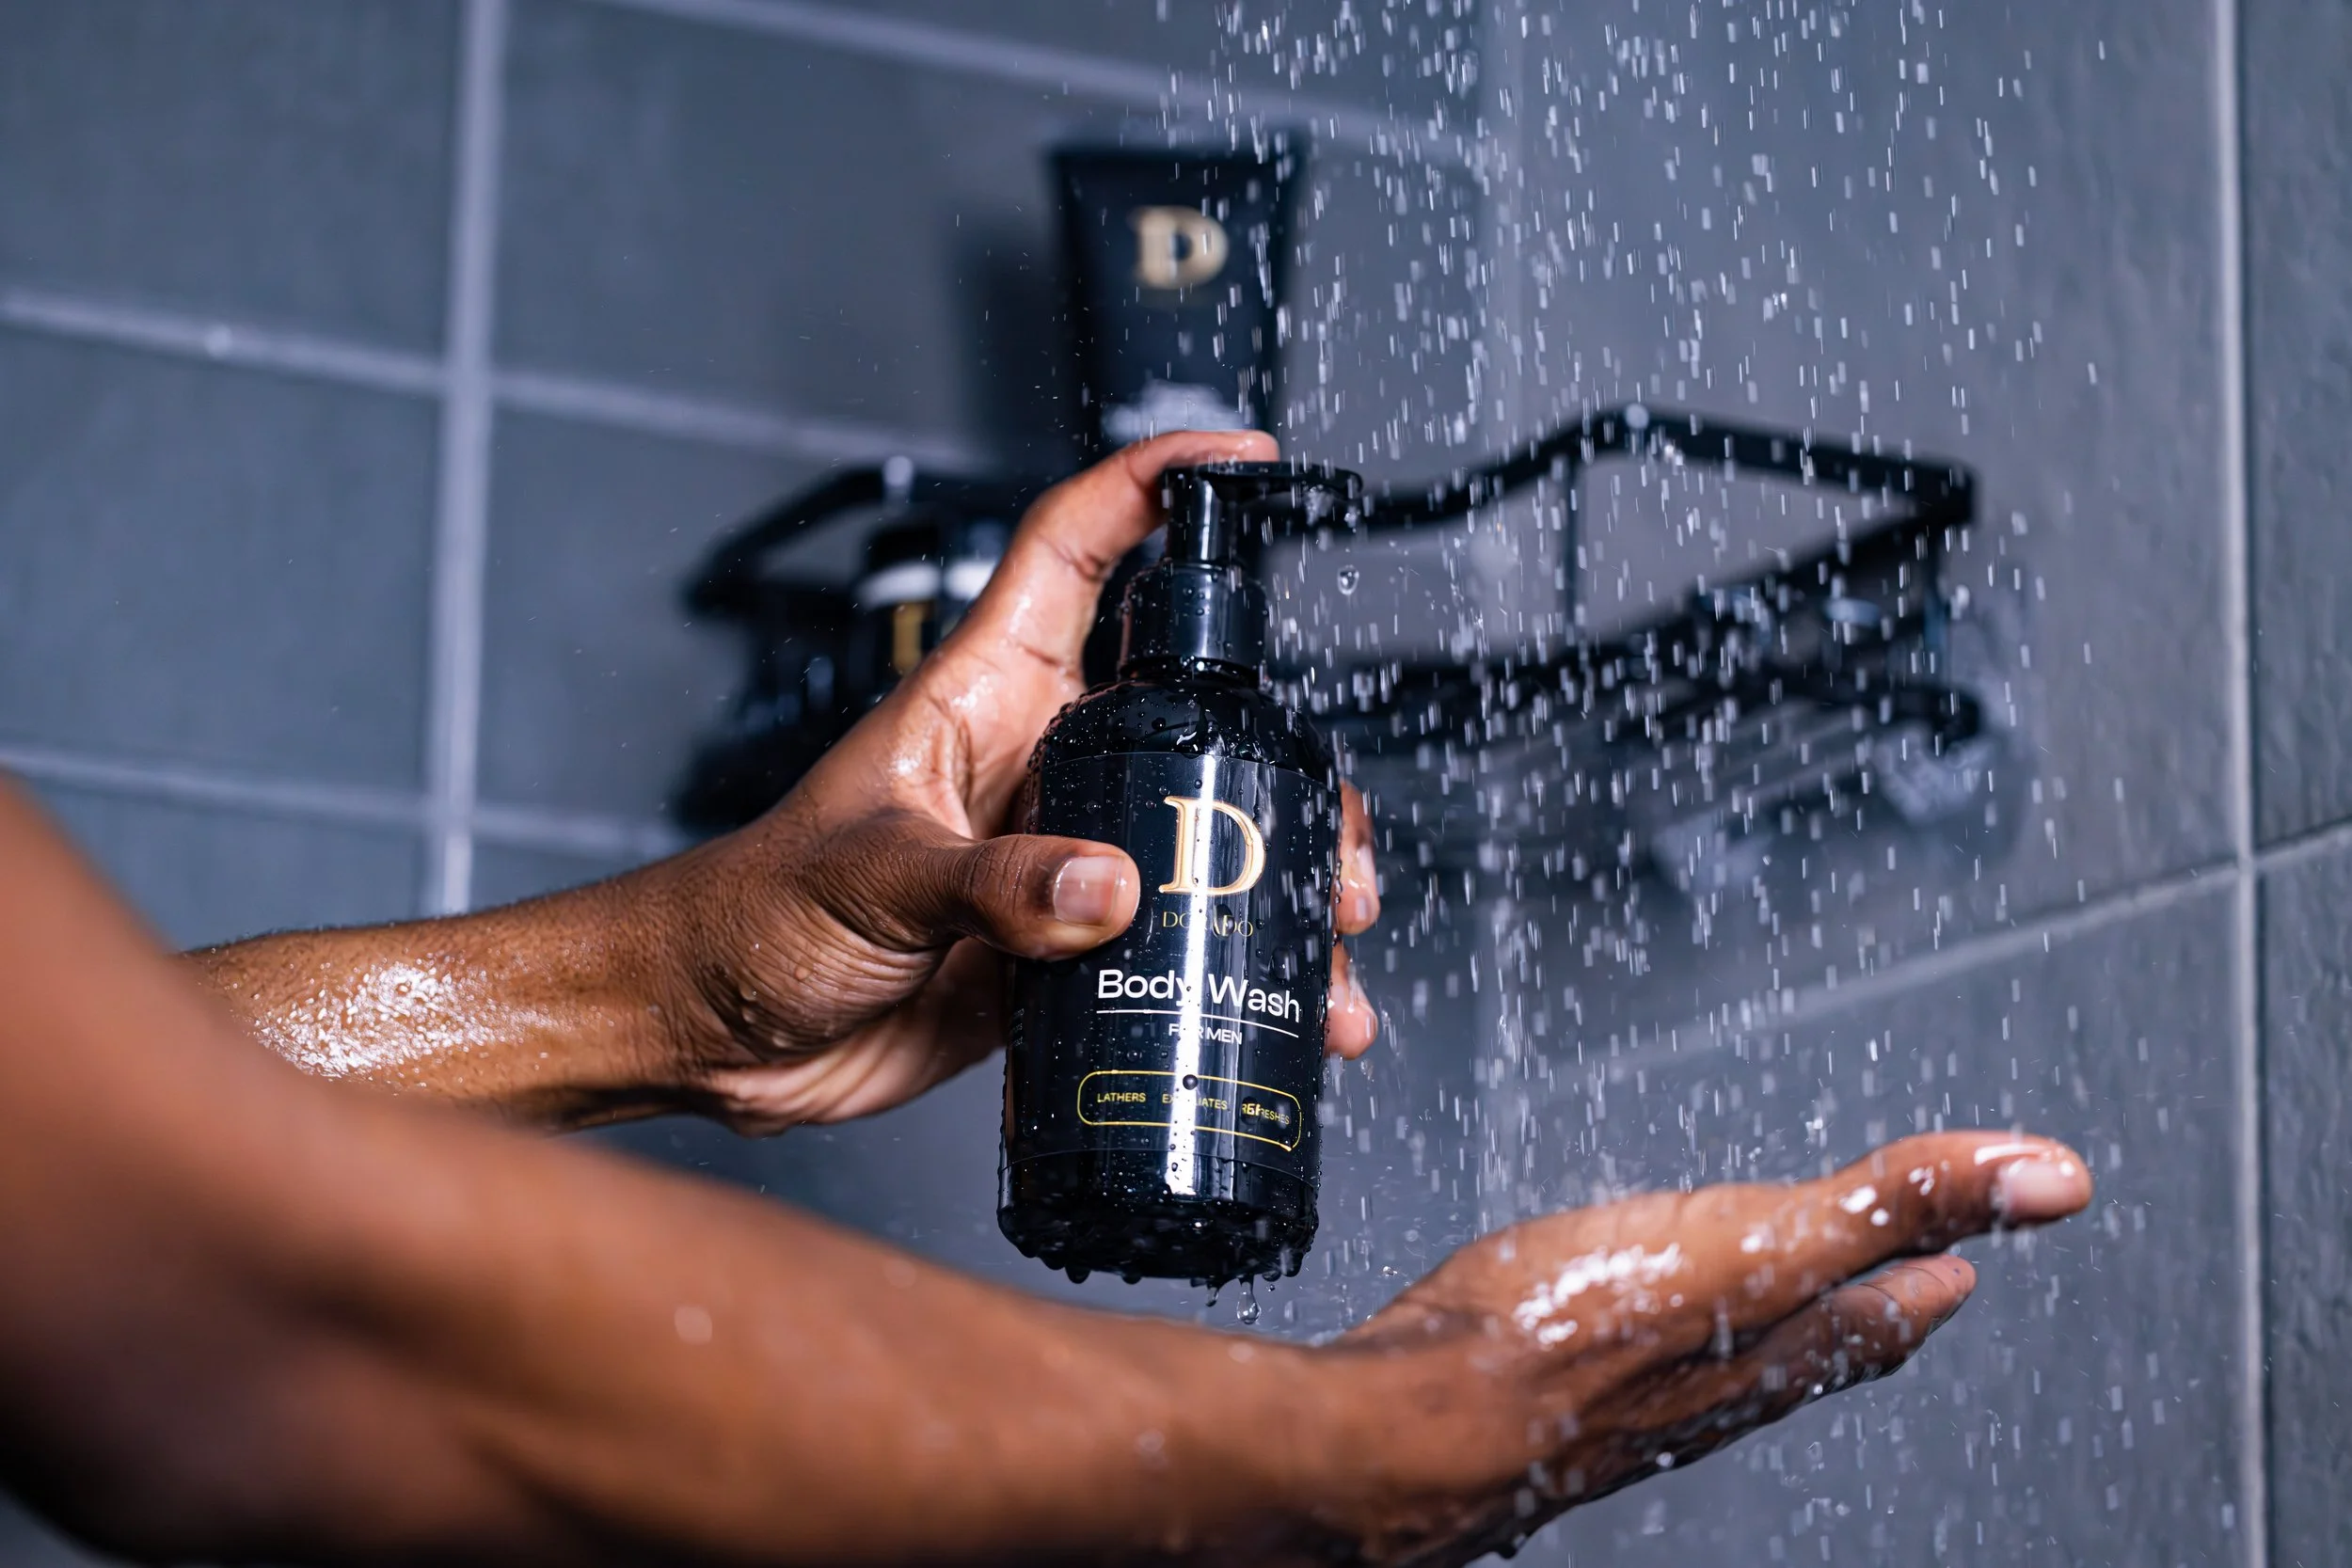
Step 3: Add Simple Props for a Lifestyle Feel
Use skincare-related props: towels, leaves, glass droppers, or minimal candles.
Stick to three props max to keep your shot uncluttered and modern.
Use textures like linen or ceramic to add interest without overpowering the product.
Pro Tip: If your product is organic or eco-friendly, props like dried flowers or bamboo can reinforce that message visually.
Step 4: Shoot on Your Phone (Yes, Really)
Turn on gridlines for perfect alignment.
Tap to focus on your logo or product name and slightly increase exposure.
Shoot both horizontal and vertical images for social media flexibility.
Pro Tip: Use portrait mode carefully — it can create a pleasing blur but make sure your product edges stay sharp.
Step 5: Retouch Lightly (Please Don’t Overdo It)
Use free apps like Snapseed or Lightroom Mobile.
Brighten whites slightly, sharpen labels, and keep colors true-to-life.
Avoid heavy filters that distort packaging colors — accuracy matters for conversions.
Pro Tip: Crop consistently across your photos so they look uniform on your website and Instagram grid.
FAQ Section (The Bottom Line)
Q: Can I really take professional photos with just my phone?
A: Yes — modern smartphones have powerful cameras. Good lighting and composition matter more than expensive equipment.
Q: Should I buy a ring light?
A: Natural window light is better for skincare products. A ring light can work for small items but may create unnatural reflections.
Q: How do I make labels look crisp?
A: Use your phone’s tap-to-focus feature and sharpen gently in post-editing.
All in all, if you’re putting back trying to start product photography because you don’t have a fancy studio, just use. these tips and thank me later!
Want a free step by step mini course to learn how to turn your hobby for product photography into a full time income? Download: The Skincare Brand Playbook (It’s Free)